Adrian Richardson’s No Knead Sourdough
I posted a couple of pictures of my results of this recipe and you guys went bonkers for it! I thought I’d share it on here too so it was easy for everyone to find.
Now I’m not sure why sourdough is in the name, when there is no starter, levain, or float tests to be done here. You do need yeast for this bread to happen. It is much easier than sourdough as you combine the four ingredients in a bowl, cover and leave overnight. I’ve currently got my oven preheating to make another loaf.
So, as long as you can find yourself some flour and yeast in these times, you’ll be able to make these quick and easy bread!
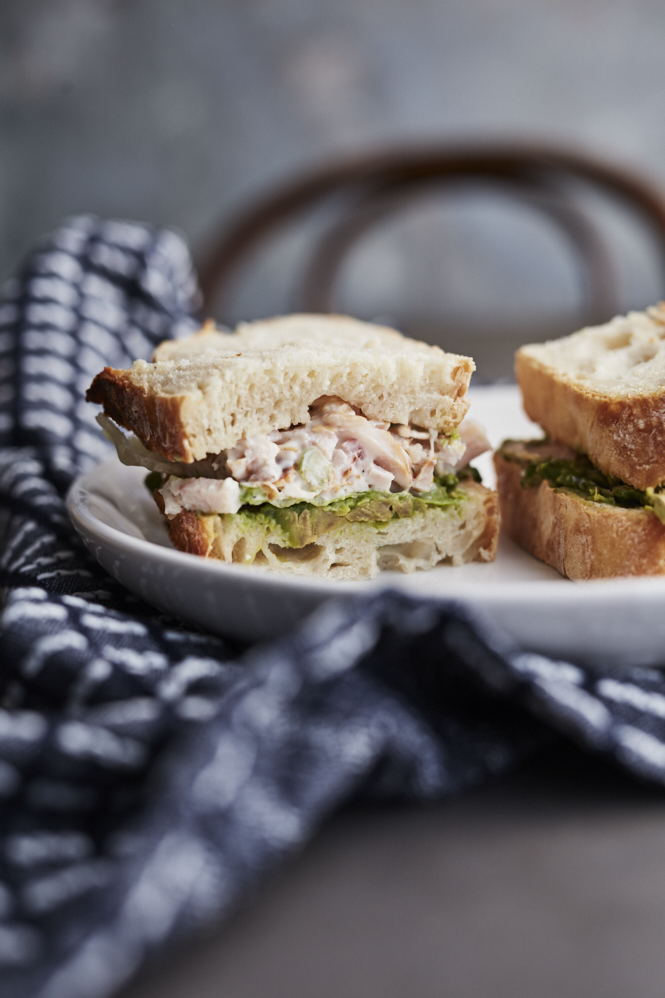
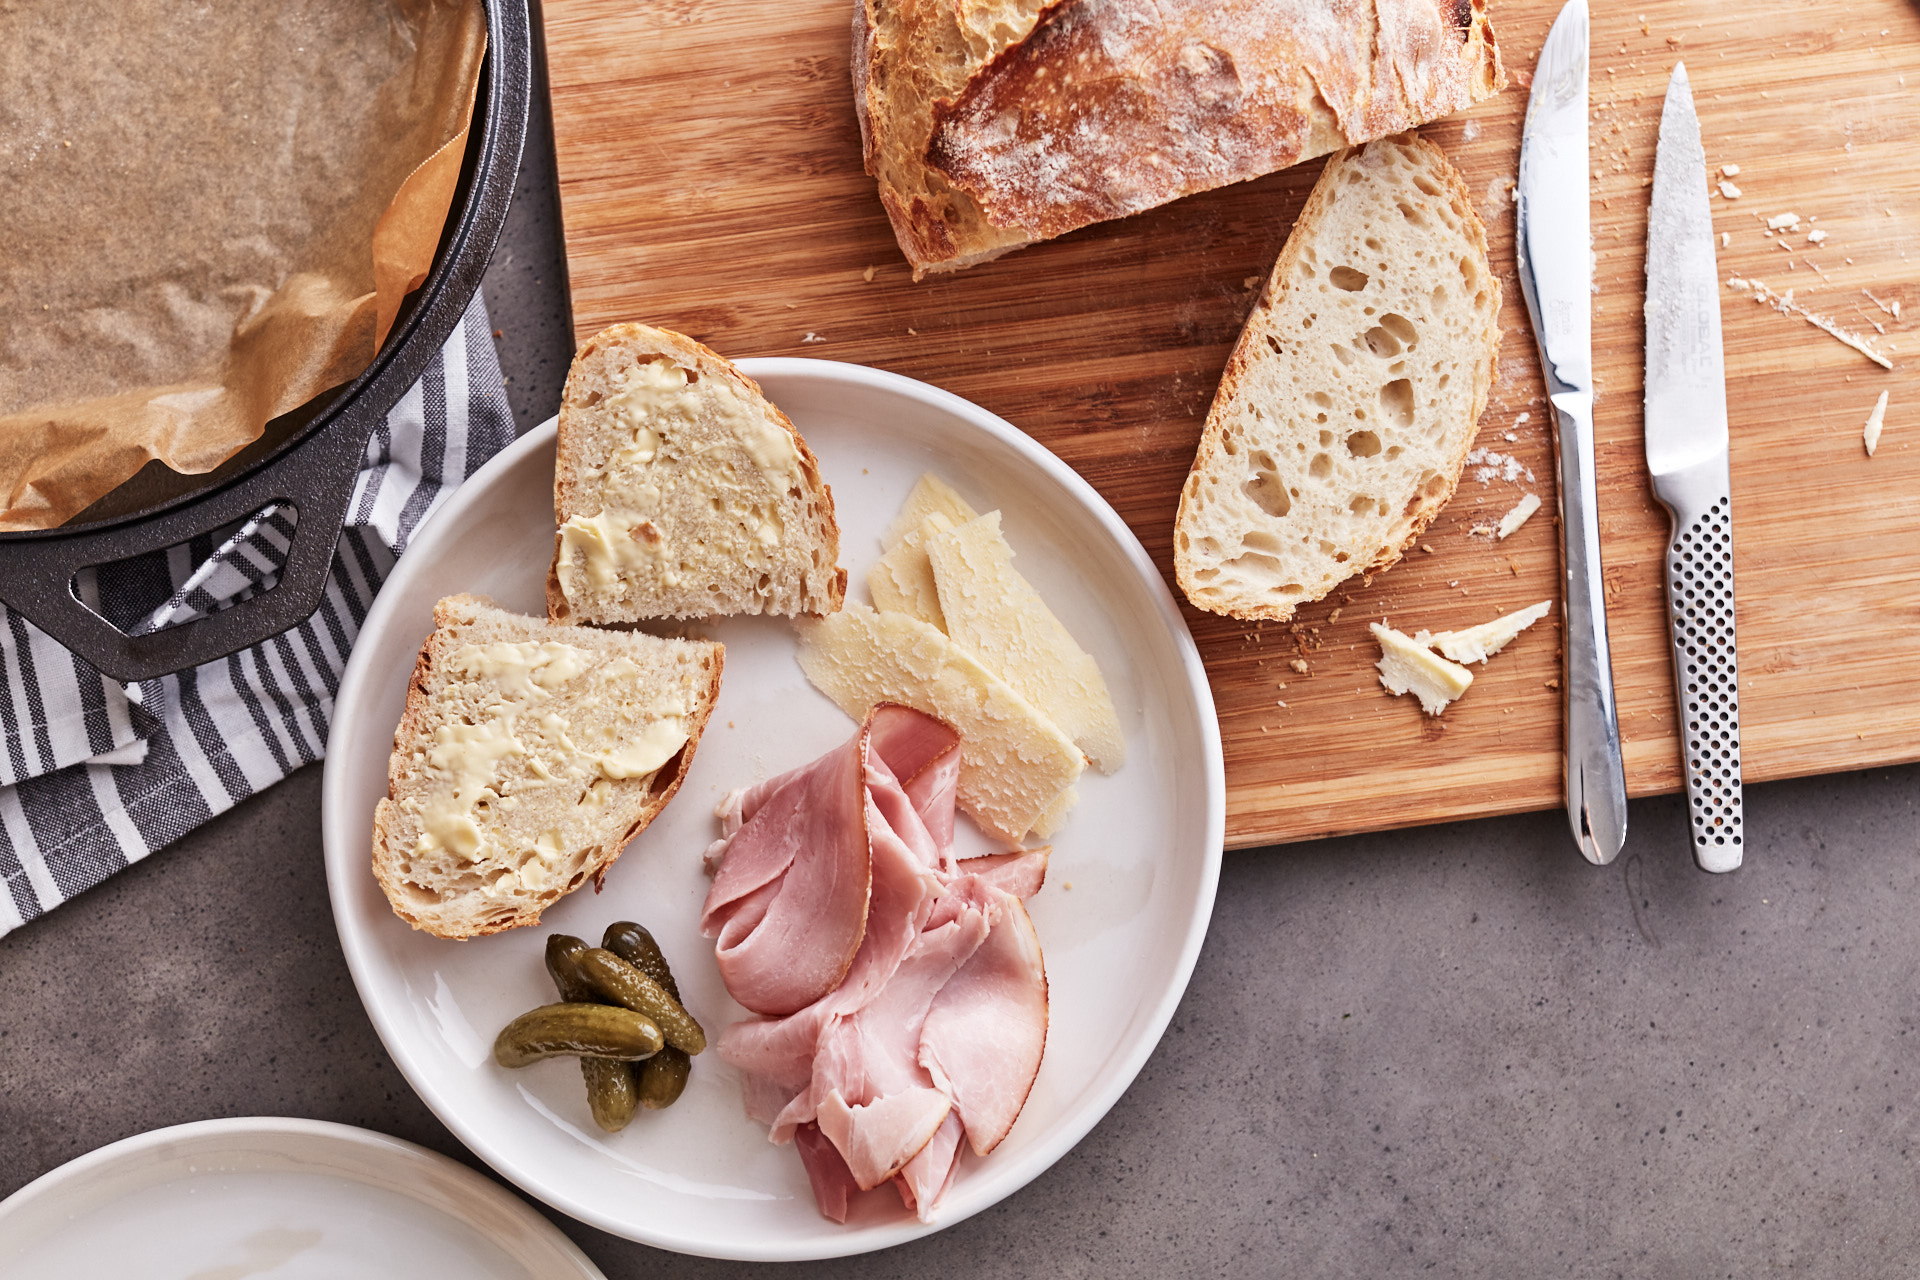
We enjoyed ours warm, lashings of butter, sliced heritage ham from J&R Forster Meats, a sharp cheddar and pickles. Simple but moorish.
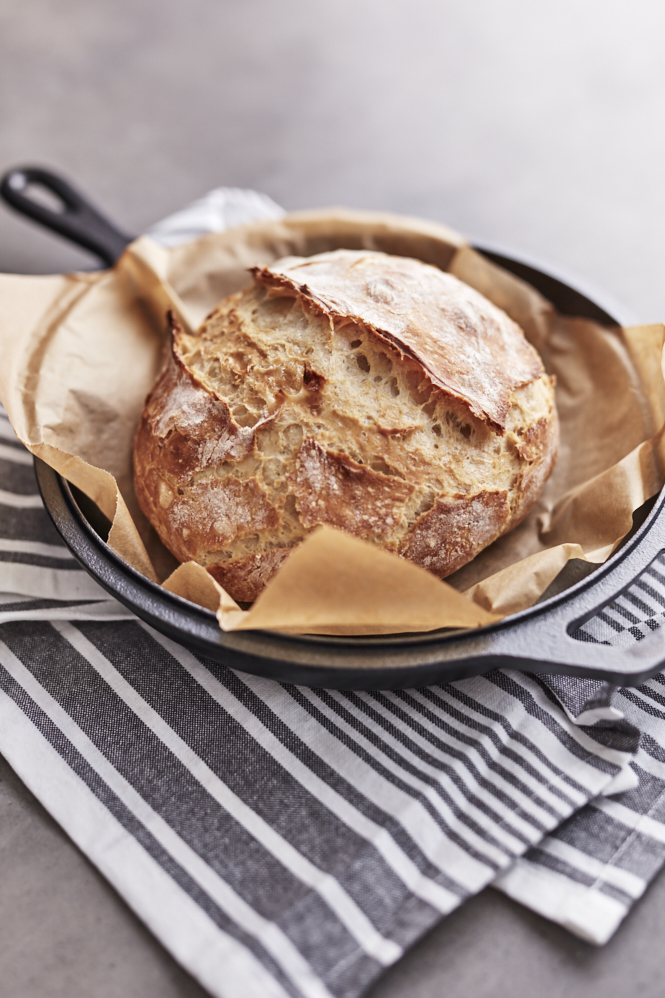
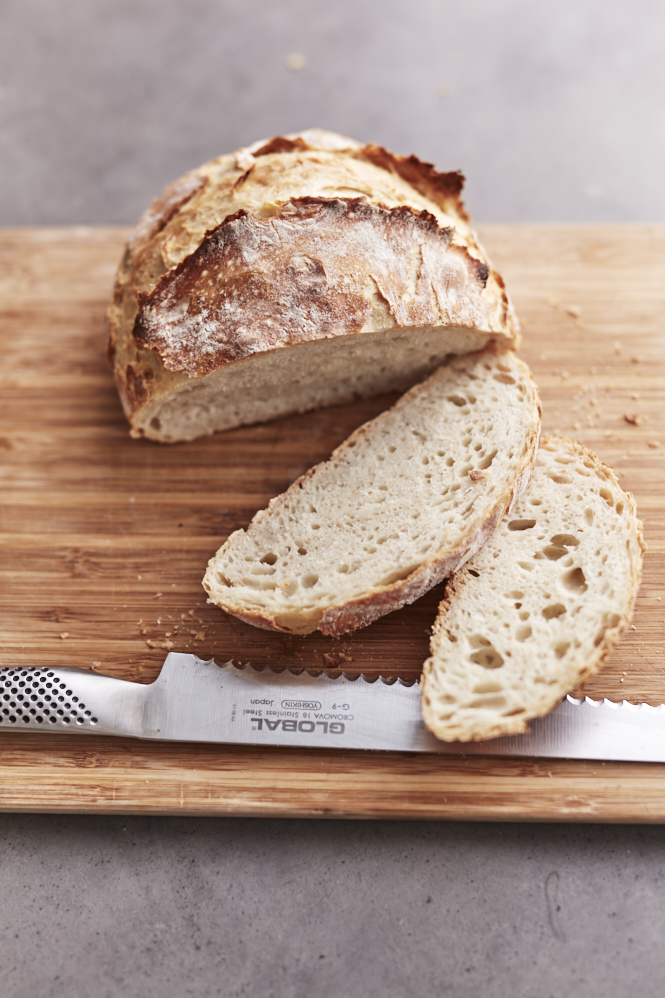
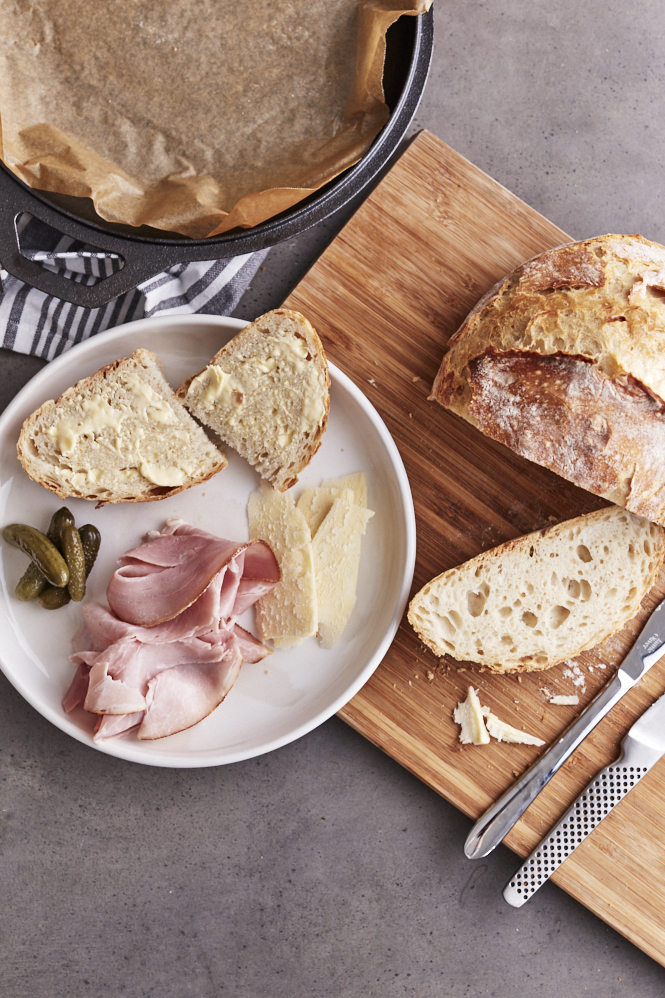
Adrian Richardson’s No Knead Sourdough
Print RecipeIngredients
- 3 cups plain flour
- 1½ cups warm water
- 1 tsp dried yeast
- 1½ tsp salt
Instructions
- In a large bowl, mix together all the ingredients. The dough will seem a little wet, this is exactly what you want. Cover the bowl with cling film, shower cap or reusable cover and leave to prove on the bench for 10 to 18 hours. The dough will double in size and seem to be very wet, this is good. The longer the proofing the larger and lighter the loaf will be.
- After 10 to 18 hours, you will need a large heavy pot with a tight fitting lid, Dutch oven or Le Creuset pots are perfect. Preheat your oven at 220°C (200°C fan-forced) with the pot and lid in the oven for 25 minutes.
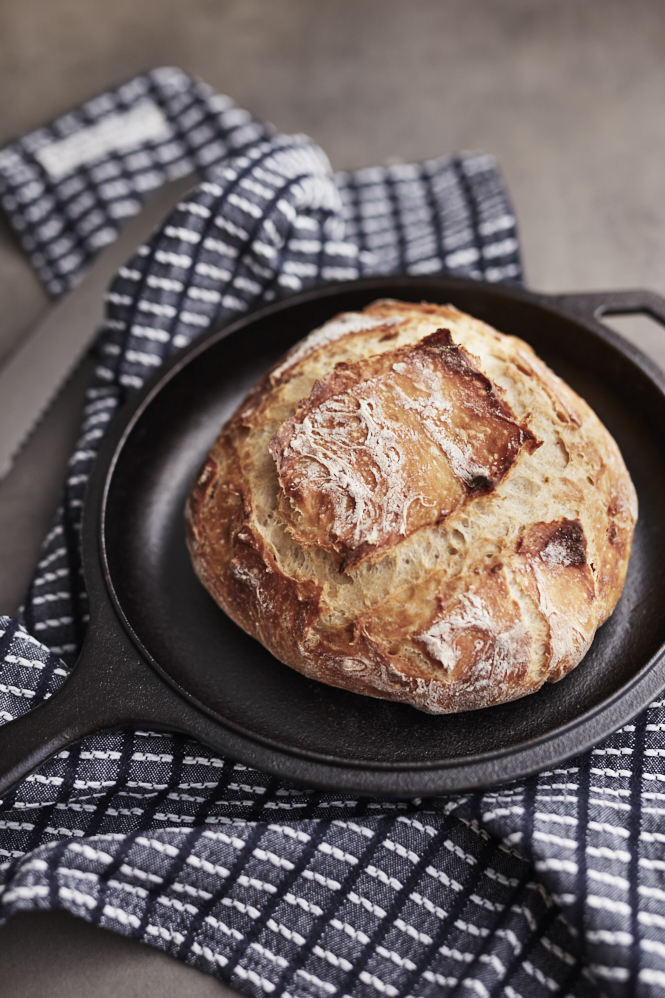
- When the pot and oven are hot, scrape your dough out onto a well-floured bench, dust with more flour and form into a ball shape. The dough will seem very soft and sticky, that’s why you need plenty of flour. I like to give my loafs a slash with a sharp blade to get the sourdough “ear”.
- Remove the hot pot from the oven, place the dough into the pot, put the lid on and put back in the oven for 30 minutes. After 30 minutes remove the lid and cook for a further 15 to 20 minutes until the dough is coloured. Don’t be scared to leave it in there longer, the darker the crust, the more flavour.
- Remove the loaf from pot and cool on a wire rack for 30 minutes. Smear with lashings of butter and enjoy!






Angela
Hello,
I might be the only person in Australia without cast iron pot. I have so many but when we down-sized to a smaller house they ere al sent to Lifeline! Bad error of judgement on my part.
Could you please tell me what I can use instead?
Thank you,
Angela
PS the photos and post make it irresistible to NOT bake this.
Loved the simplicity of your post. Well done!
Iron Chef Shellie
Hi Angela,
Aww thanks, it’s a winner!
I found a link below, saying you can use an oven proof pot and lid (this might mean a stainless steal pot and an oven tray). Hope that helps!
https://www.lifeasastrawberry.com/crusty-bread-without-dutch-oven/
Emanuela
I am trying this immediately!!!!! Lots of love x
Iron Chef Shellie
Let me know how you go!
Fi
I’d love to try a GF version – any thoughts?
Iron Chef Shellie
Hi Fi,
I’ll be completely honest, I’m not too across gluten free substitutes. You could try with gluten free flour and make sure your yeast is gluten free too 🙂
Chloe
Hi there,
I baked the original recipe and it turned out AMAZING!!!
Do you think you could add cheese and bacon to the dough, either before or after proofing?
Thank you
Iron Chef Shellie
Hey Chloe, I think that’s a fantastic idea! I would try before proofing. Might have to give this a go myself this week!
Anita Heijkoop
Brilliant recipe! Worked first time and I was so thrilled – my first hand made loaf of bread! Do you think it would work with half whole meal flour or half spelt flour mixed with half plain flour?
Stacey
So easy, and very yummy. Each time I have made it the loaves have been light and fluffy inside & crispy crusted
Sue Lark
Thanks for the recipe, I’m going to try this, it looks so delicious!
I have a Dutch oven, do I line it with baking paper when I cook it?
Iron Chef Shellie
I always pop the loaf on baking paper 🙂