Cappuccino Cake
Eight years ago today I started a wee little blog, which has now become a platform for me to be able to quit my nine to five job, and pursue a career I love. I nearly forgot all about this little blog’s birthday until my phone decided to remind me. I’m currently up shit creek with a rather short paddle; work is keeping me on my toes a lot, but I’m not complaining, but sometimes it’s overwhelming and I just need to sit down and slow down for a moment.
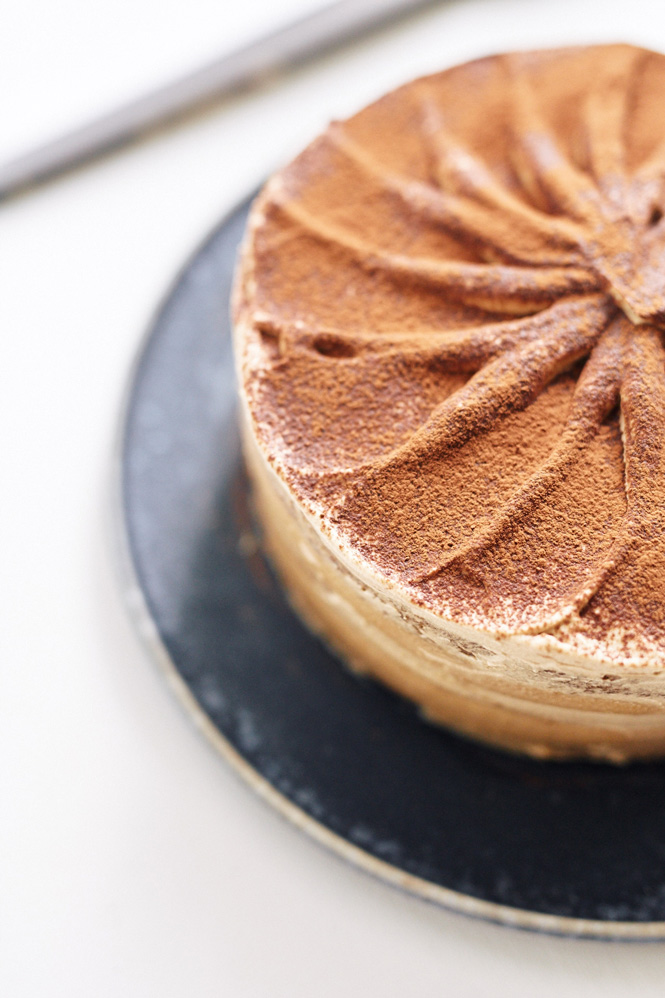
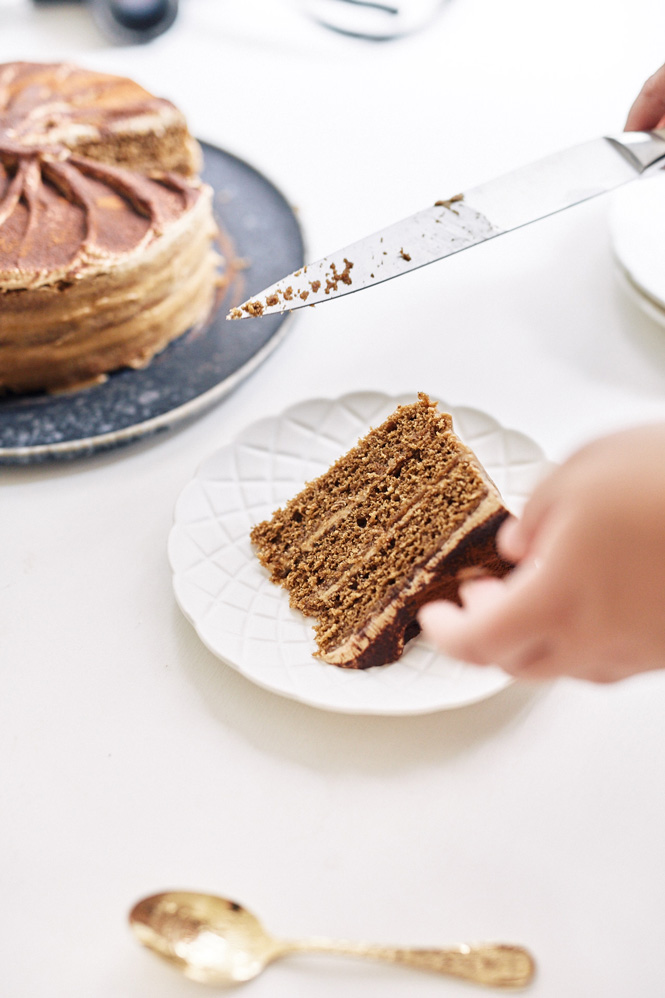
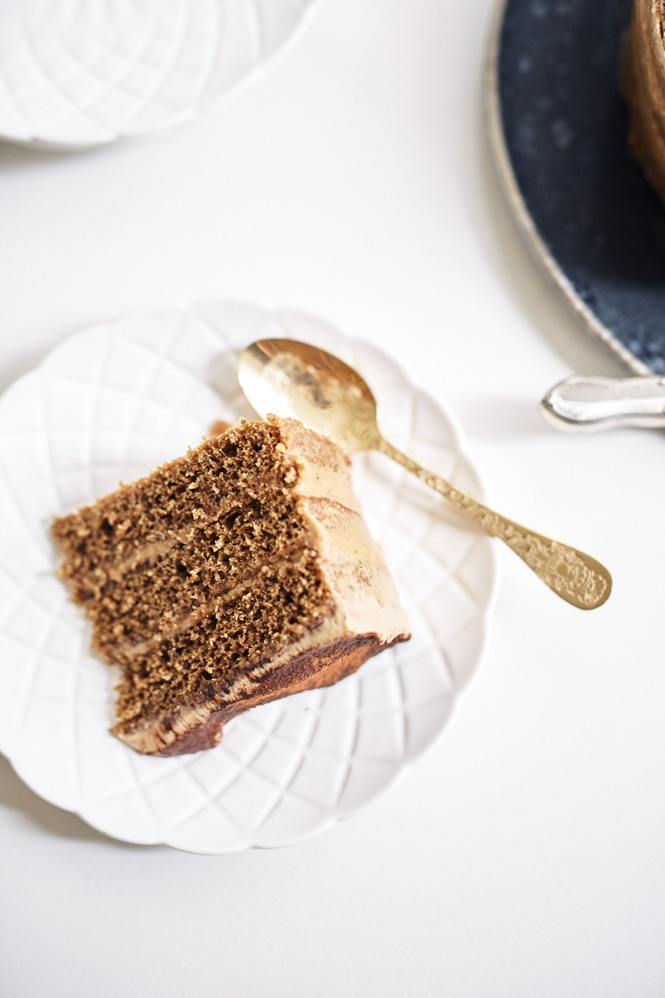
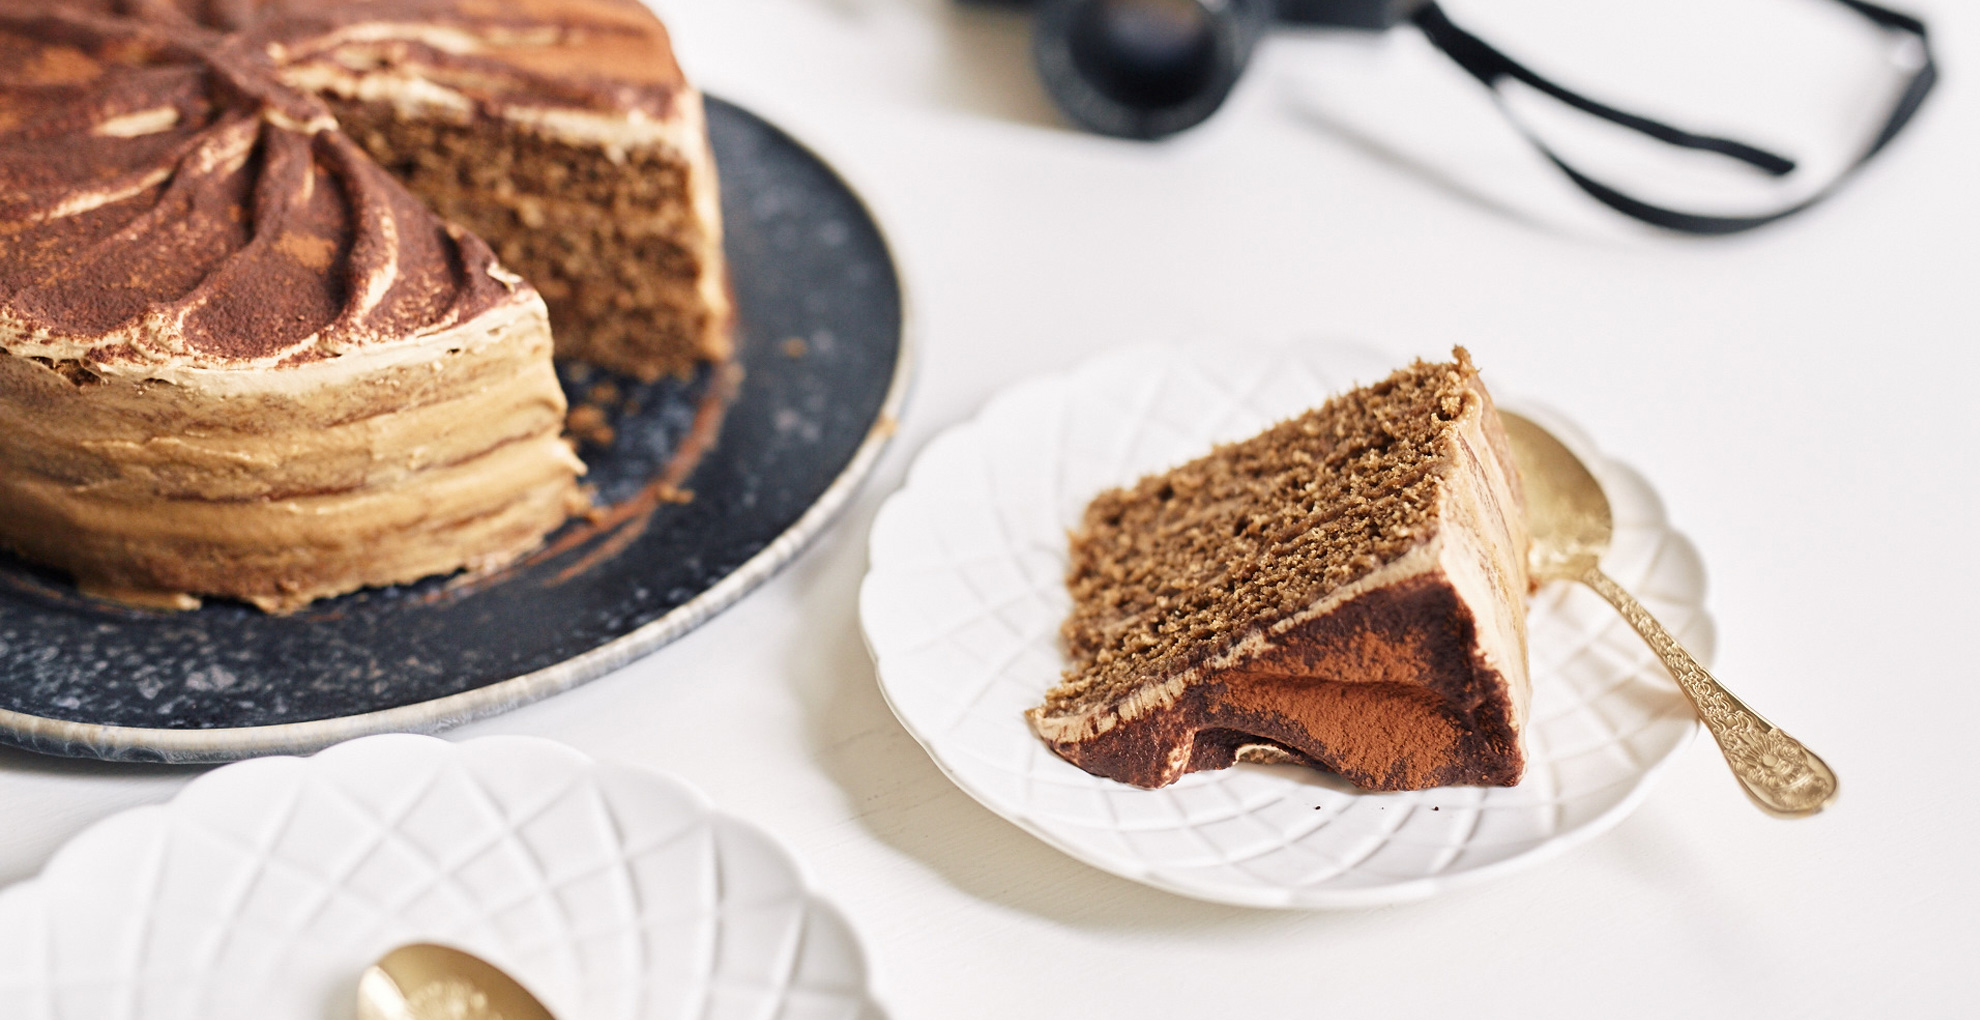
I haven’t created a new exciting cake for this year’s birthday unfortunately. I did make this gorgeous cappuccino cake a few weeks ago, using Izy‘s recipe. I have been a big fan of Izy’s work for a long time now, and just needed time to make this cake. I took it over to my Grandma’s house for dessert and it couldn’t have been better received! Me who usually hates coffee flavoured things really enjoyed it as well. Grandma was still raving about it today to me in fact!
So it’s been just over one year since I became the full time cook, food stylist and photographer that I am. Some fun stats from the year that has been and gone:
- I’ve had five random people email out of the blue me to apply to be my assistant. Which I found funny and flattering, who me? Am I at that level that people think I need and assistant?
- Three bespoke cake requests from people I don’t know
- About 160 recipes I’ve cooked, style and shot for various clients
I’ve had a really great year. I want to thank everyone who made it possible, everyone’s support as well. Here’s to another great year!
Cappuccino Cake
Print RecipeIngredients
- 250 g plain flour
- 3 teaspoons baking powder
- 50 g ground almonds
- 220 g granulated sugar
- 1/2 teaspoon salt
- 110 g unsalted butter
- 3 tablespoons instant coffee granules
- 80 ml milk
- 3 eggs
Frosting & Filling
- 2 tablespoons instant coffee granules
- 125 ml whipping cream
- 360 g icing sugar plus 2 tablespoons extra
- 110 g unsalted butter cut into small cubes
- 2 tablespoons cocoa powder
Instructions
- Preheat the oven to 180°C. Line, grease and flour three 20 cm cake tins.
- In a large bowl, mix together the flour, baking powder, ground almonds, sugar and salt. Using your fingers, rub the butter into the dry ingredients until no large chunks of butter remain.
- Dissolve the coffee in 80 ml hot water and pour into the flour mixture, along with the milk and eggs. Mix together using a wooden spoon or a hand-held electric beater.
- Divide the batter between the lined cake tins and bake for 20–25 minutes until the cake springs back when poked with a finger. Let the cakes cool in their tins for 10 minutes, then turn out onto a wire rack. Remove the baking parchment and turn the cakes right-side up. Leave to cool completely before using a serrated knife to level any domed cakes.
- To make the filling and frosting, combine 2 tablespoons of boiling water and the instant coffee in a small bowl.
- In a large bowl, whisk the cream until it just starts to thicken. Add the 2 tablespoons of icing sugar and 1 tablespoon of the dissolved coffee. Continue to whisk until it forms soft peaks (if it starts to look grainy, immediately add 2 tablespoons of extra whipping cream and gently stir it in). Chill in the fridge while you make the buttercream.
- Make the coffee buttercream by creaming the butter, remaining dissolved coffee and the icing sugar together in a separate bowl until smooth. It should be the consistency of cream cheese so add a splash of milk if it seems too thick.
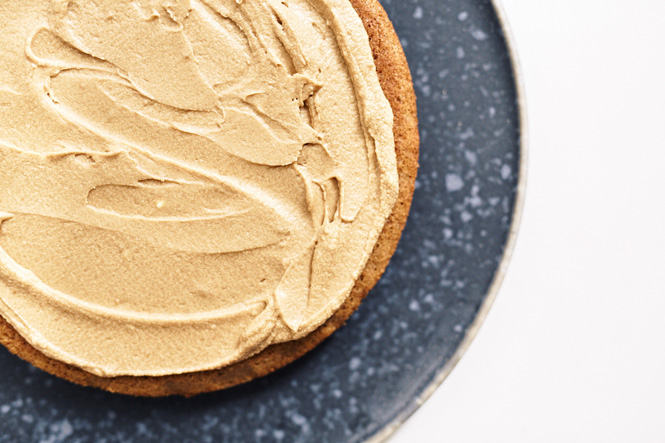
- To assemble, place 1 cooled cake (cut-side down, if levelled) on a cake stand or large platter. Place one-third of the buttercream on top of the cake and use a spoon or butter knife to spread it over the surface of the cake, stopping just shy of the edge. Top with a second cake (again, cut-side down) and press down lightly so that the buttercream is pushed to the edge. As before, cover with buttercream and then top with the third cake (cut-side down).
- Use the remaining buttercream to very thinly frost the side of the cake (this is known as a crumb coating). Use the coffee-whipped cream to frost the top of the cake. To create the effect shown in the photograph, use a palette knife to create C-shapes in the whipped cream, starting at the top of the cake and moving towards the centre. Do this all along the edge of the cake until you’ve covered the entire surface, then dust with cocoa powder. The cake will keep in the fridge for a couple of days; bring it to room temperature before serving.










Tania | My Kitchen Stories
Looks so beautiful Shelly. Congratulations on taking it to the next level
Sarah
Happy blog birthday!! Congratulations on all your achievements! 🙂
Marta @ What should I eat for breakfast today
It sounds like a great change in life. Congrats and happy birthday 🙂
Mary @ LOVE the secret ingredient
A beautiful cake to celebrate your anniversary! Congratulations on all you have achieved 🙂
Jess Jo
I would love to see a video of how you made that beautiful swirling effect. Hard to see it in my head even when you’ve explained it so well. 🙂